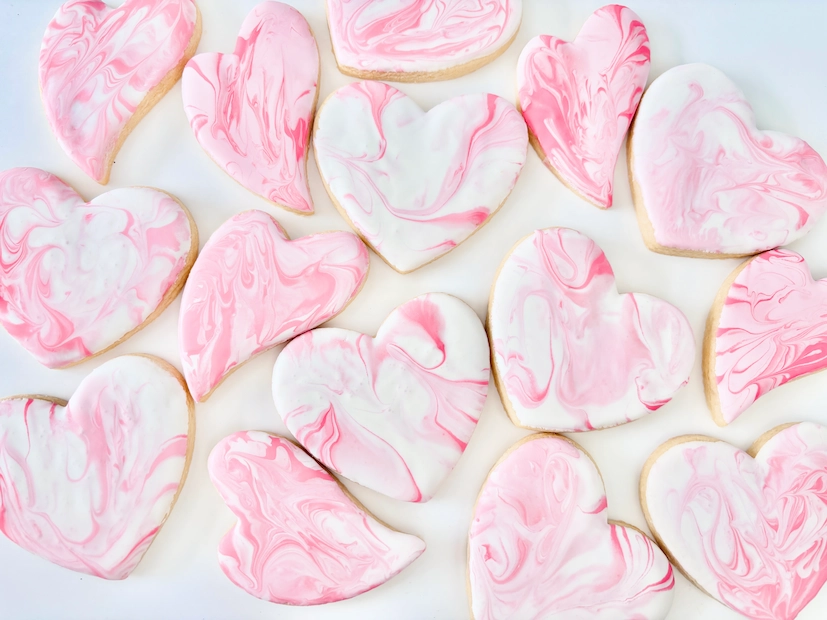


These gorgeous Valentine’s Day cookies are sure to impress anyone this Valentine’s Day. Whether you are making these cookies for a teacher, friend, coworker, or your hubby, I am sure they will love these cookies! I love the marbled effect on sugar cookies! The design is so elegant yet so simple to make!

How to Bake Sugar Cookies
Preheat oven to 350°F
Combine ¾ cup shortening and 1 cup sugar together and then add in 2 eggs and ½ tsp vanilla. In a separate bowl, mix 2 ½ cups flour, ¾ tsp baking powder and 1 tsp salt together. Add the dry ingredients to the wet and mix until a smooth dough ball is formed. Roll out the dough about a ¼ inch thick onto a baking sheet with either parchment paper or a silicone baking mat. Bake cookies for 10 minutes at 350°F. Let them fully cool before dipping in royal icing.
Pro Tip: Make sure the dough is rolled out somewhat thick so that the cookies are easy to grasp when dipping in royal icing.
Using Heart Cookie Cutters
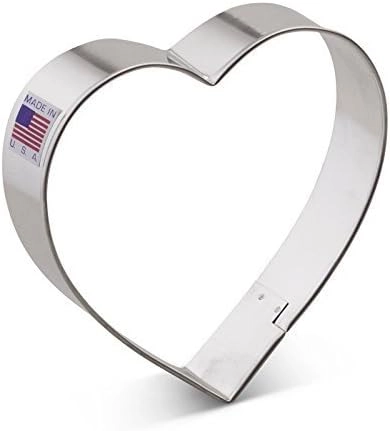
I have a few different heart shaped cookie cutters I have collected over the years. I like to use cookies that are in the 3” to 4” size for dipping. Heart-shaped cookies are one of the easiest shapes to dip. The smooth curves help the icing drip off nicely, so you get clean edges without much effort. They’re easy to hold and easy to dunk.
Ann Clark Cookie Cutters Heart Valentine Cookie Cutter, 4"
How to Make Royal Icing (Base)
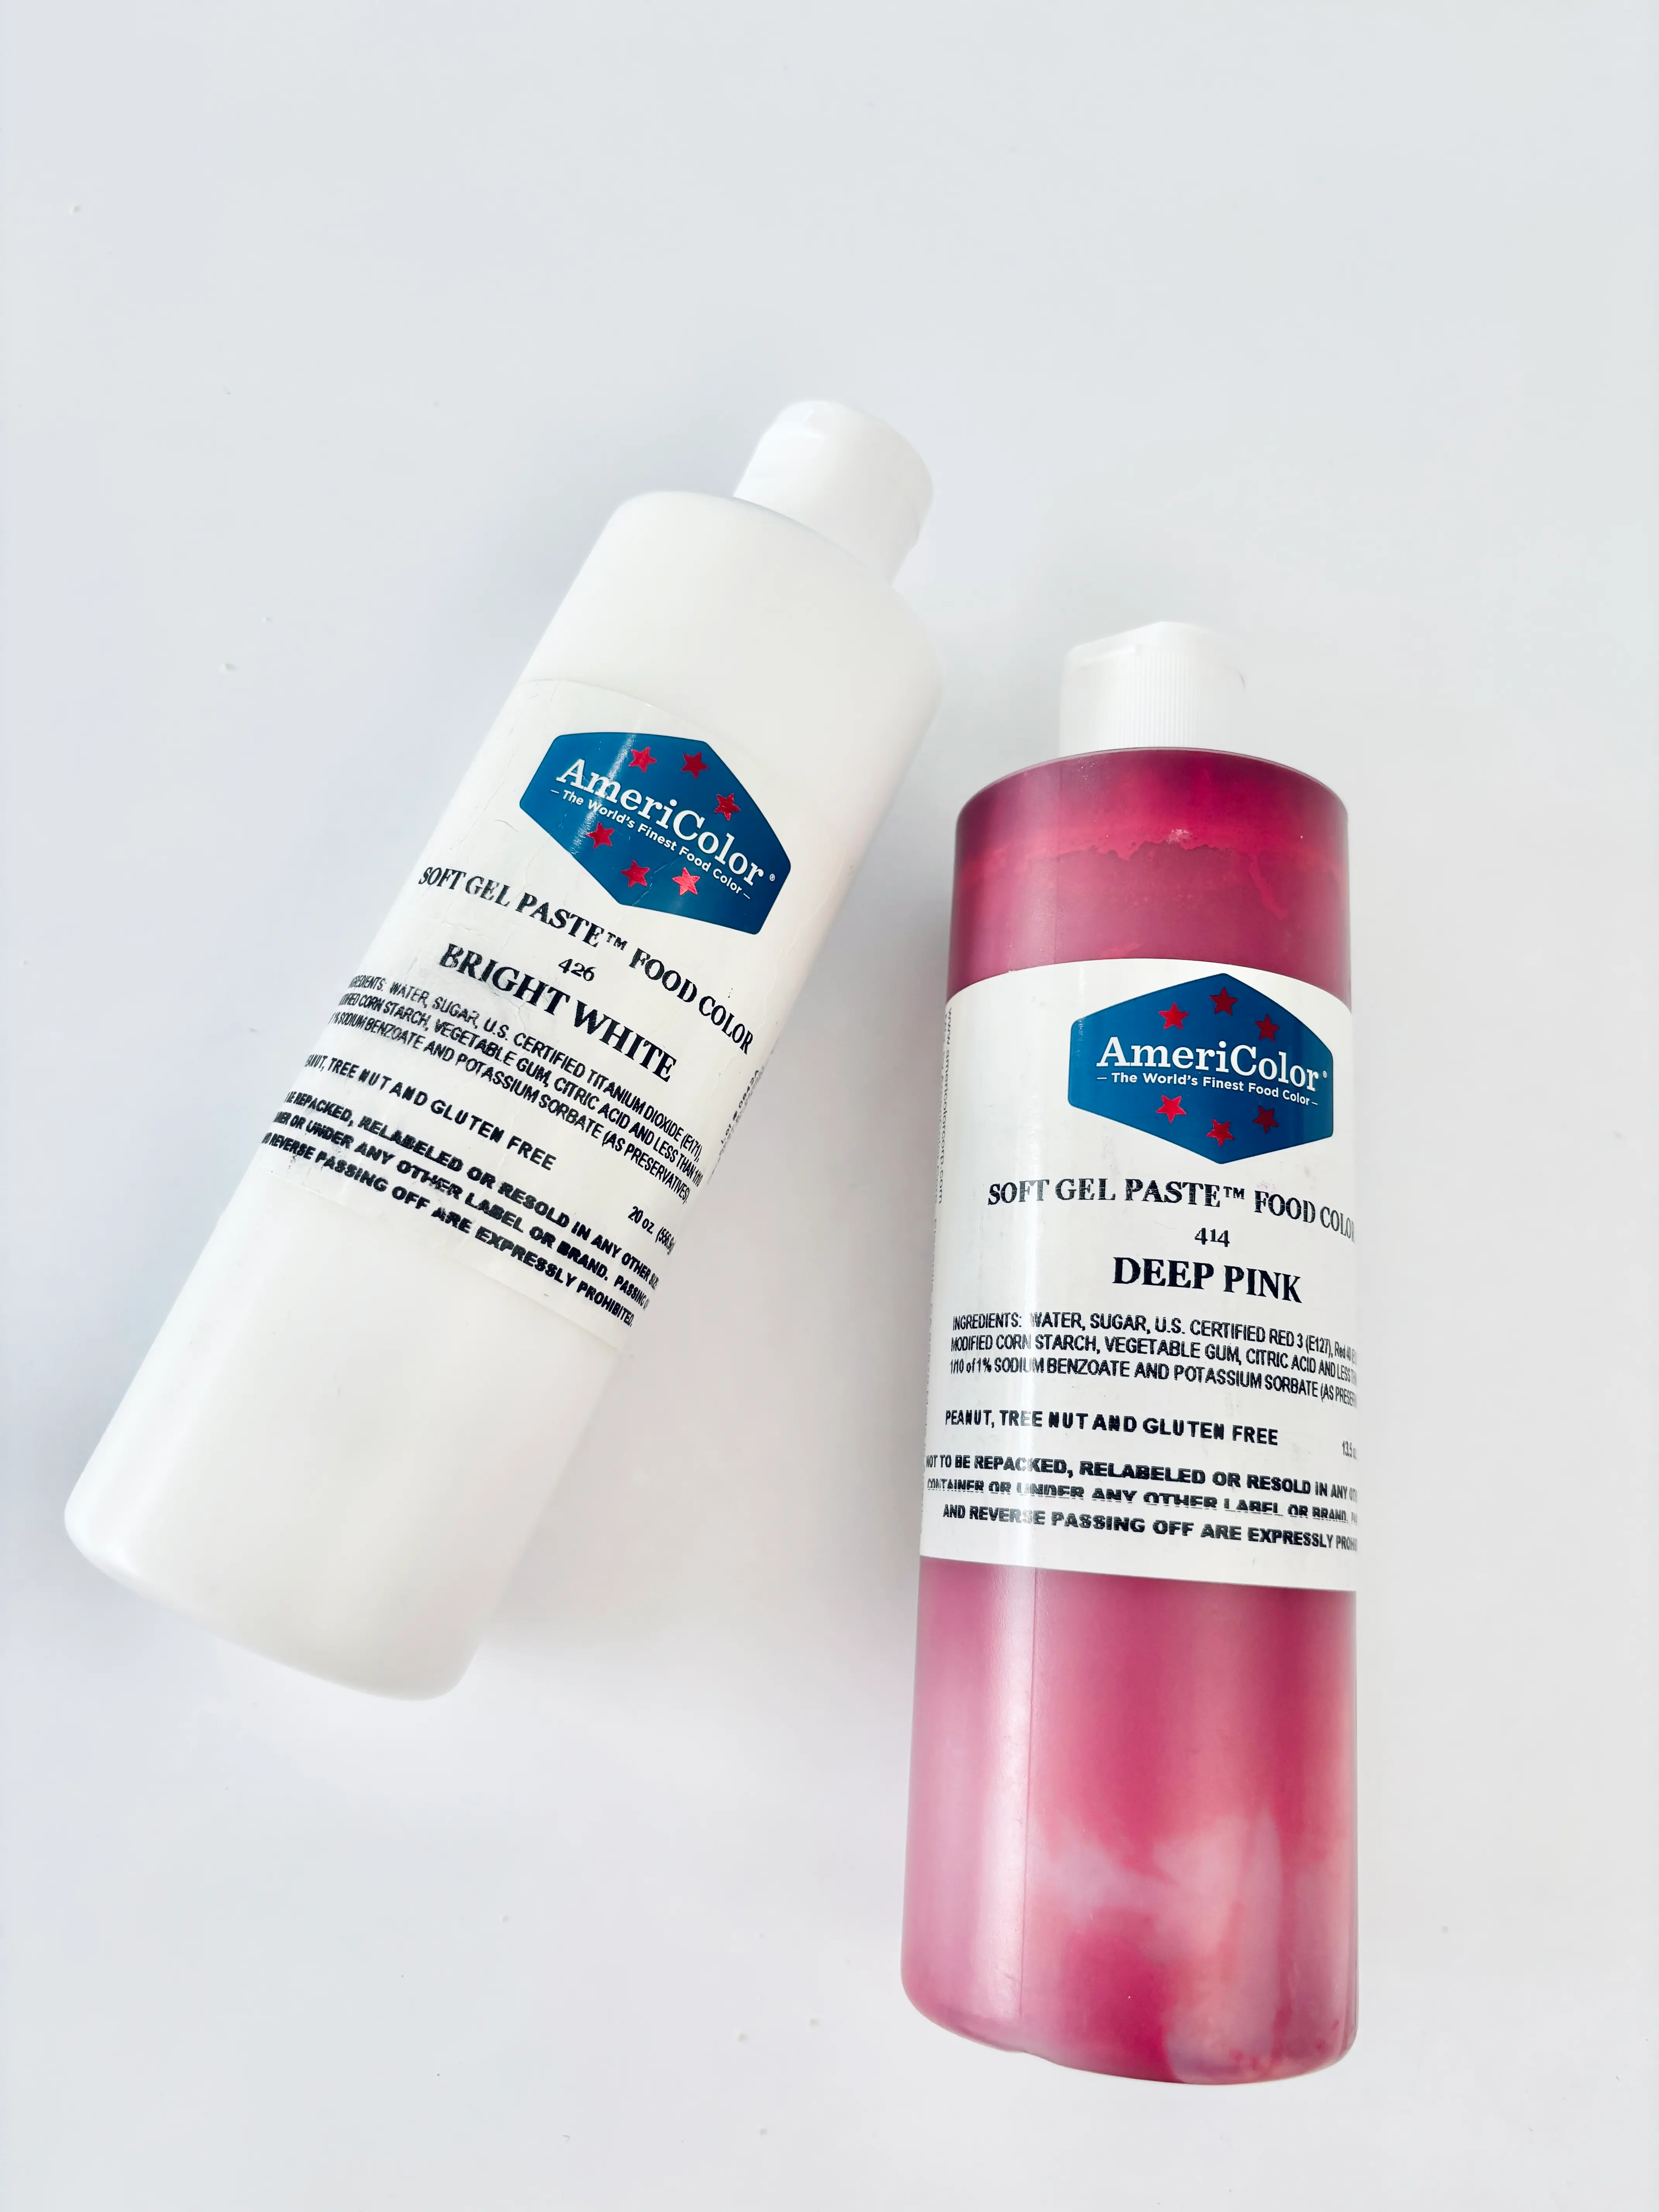
Mix 4 cups of sifted powdered sugar, 3 Tbs meringue powder and gradually add in 5 Tbs room temperature water. Next add in1 Tbs of white gel food coloring and 2 Tbs corn syrup. The consistency of the royal icing should be thick like toothpaste. This is the base icing so that you can add color to it, and thin it out as needed.
Pro Tip: It helps to prepare the royal icing a day in advance to allow air bubbles to come to the surface.
Create Colors for Marbling
You can make marbled cookies with any colors, but for Valentine’s Day, I am using two colors: white and pink. I use a pasta bowl for dipping the sugar cookies into the royal icing.
First, add 3 tablespoons of the base icing to a small dish and thin it by gradually mixing in 1 tablespoon of room-temperature water. Next, take a small amount of the base royal icing and tint it lightly with pink gel food coloring. Spoon or pipe the pink icing in thin stripes over the base icing.Reserve a little of the pink icing and add more pink gel coloring to create a darker shade. Add a few more thin stripes of the darker pink over the lighter pink and base icing. If you like, you can take a toothpick or a cookie scribe tool to gently swirl the icing to create a marbled effect without overmixing. This is not necessary because dipping in the cookies in the icing will naturally create a marbled look once the cookie is lifted from the icing.
Pro Tip: Be careful not to thin the icing too much. It should be thick enough that it doesn’t run right off the cookie, but still thin enough for a little excess to drip off smoothly.
Dipping the Cookies
Hold the cookie by the edges and gently place it flat into the icing. Slightly move the cookie around to make sure all sides are fully coated. Lift the cookie and let the excess icing drip off, then place it icing-side up. Gently shake to smooth the icing, or use a cookie scribe tool to fill in any bare spots.
Pro Tip: Use a shallow dish for dipping your cookies. That way you aren’t wasting excess icing, and it is easy to dip the cookies in and out.
.webp)
Letting the Cookies Dry
Allow your cookies to dry completely—this usually takes about 8 hours. If you're in a hurry, you can speed things up by popping them in a dehydrator at 95°F for 20 minutes. This creates a "crust" on the surface, which is perfect if you want to pipe lettering over your marbled design.
With the use of the dehydrator, they might finish drying in about 4 to 6 hours, but keep an eye on the humidity. I’ve found that cookies dry beautifully in the winter (January and February), but summer humidity can be tricky. During those humid months, I like to run a fan over the cookies before they go into the dehydrator to prevent any rippling.
Storing Cookies
Once your cookies are fully dry, they’re ready for the finishing touch! Place them in clear cellophane bags and secure them with a ribbon or twist tie. For the best taste and a soft texture, they should be enjoyed within 2 to 4 days.
If you're planning ahead, these cookies freeze really well. Simply place them in a freezer-safe Ziploc bag, gently press out the air, and lay them flat in the freezer. They can be stored this way for up to 6 months. When you're ready to serve, take the bag out and let it sit on the counter until the cookies reach room temperature before opening as this prevents any condensation from ruining the icing.


