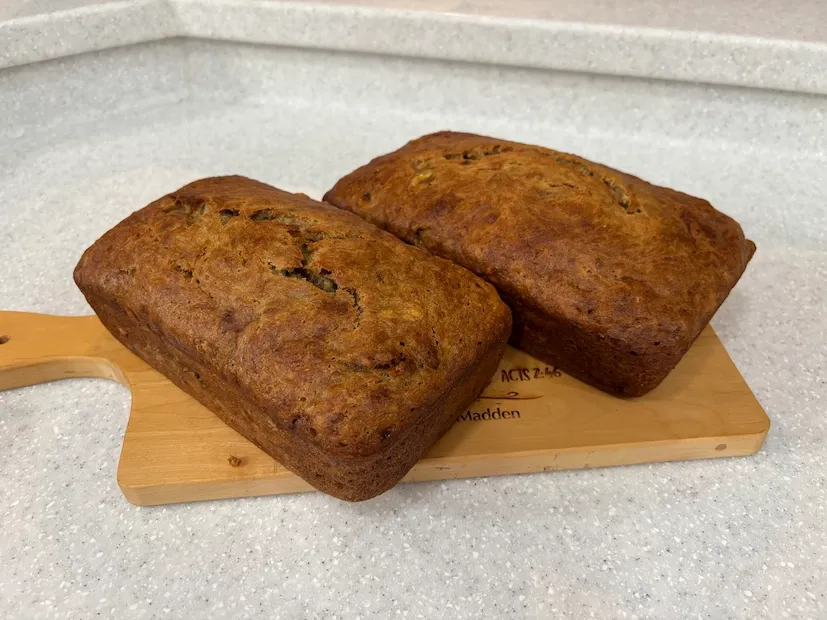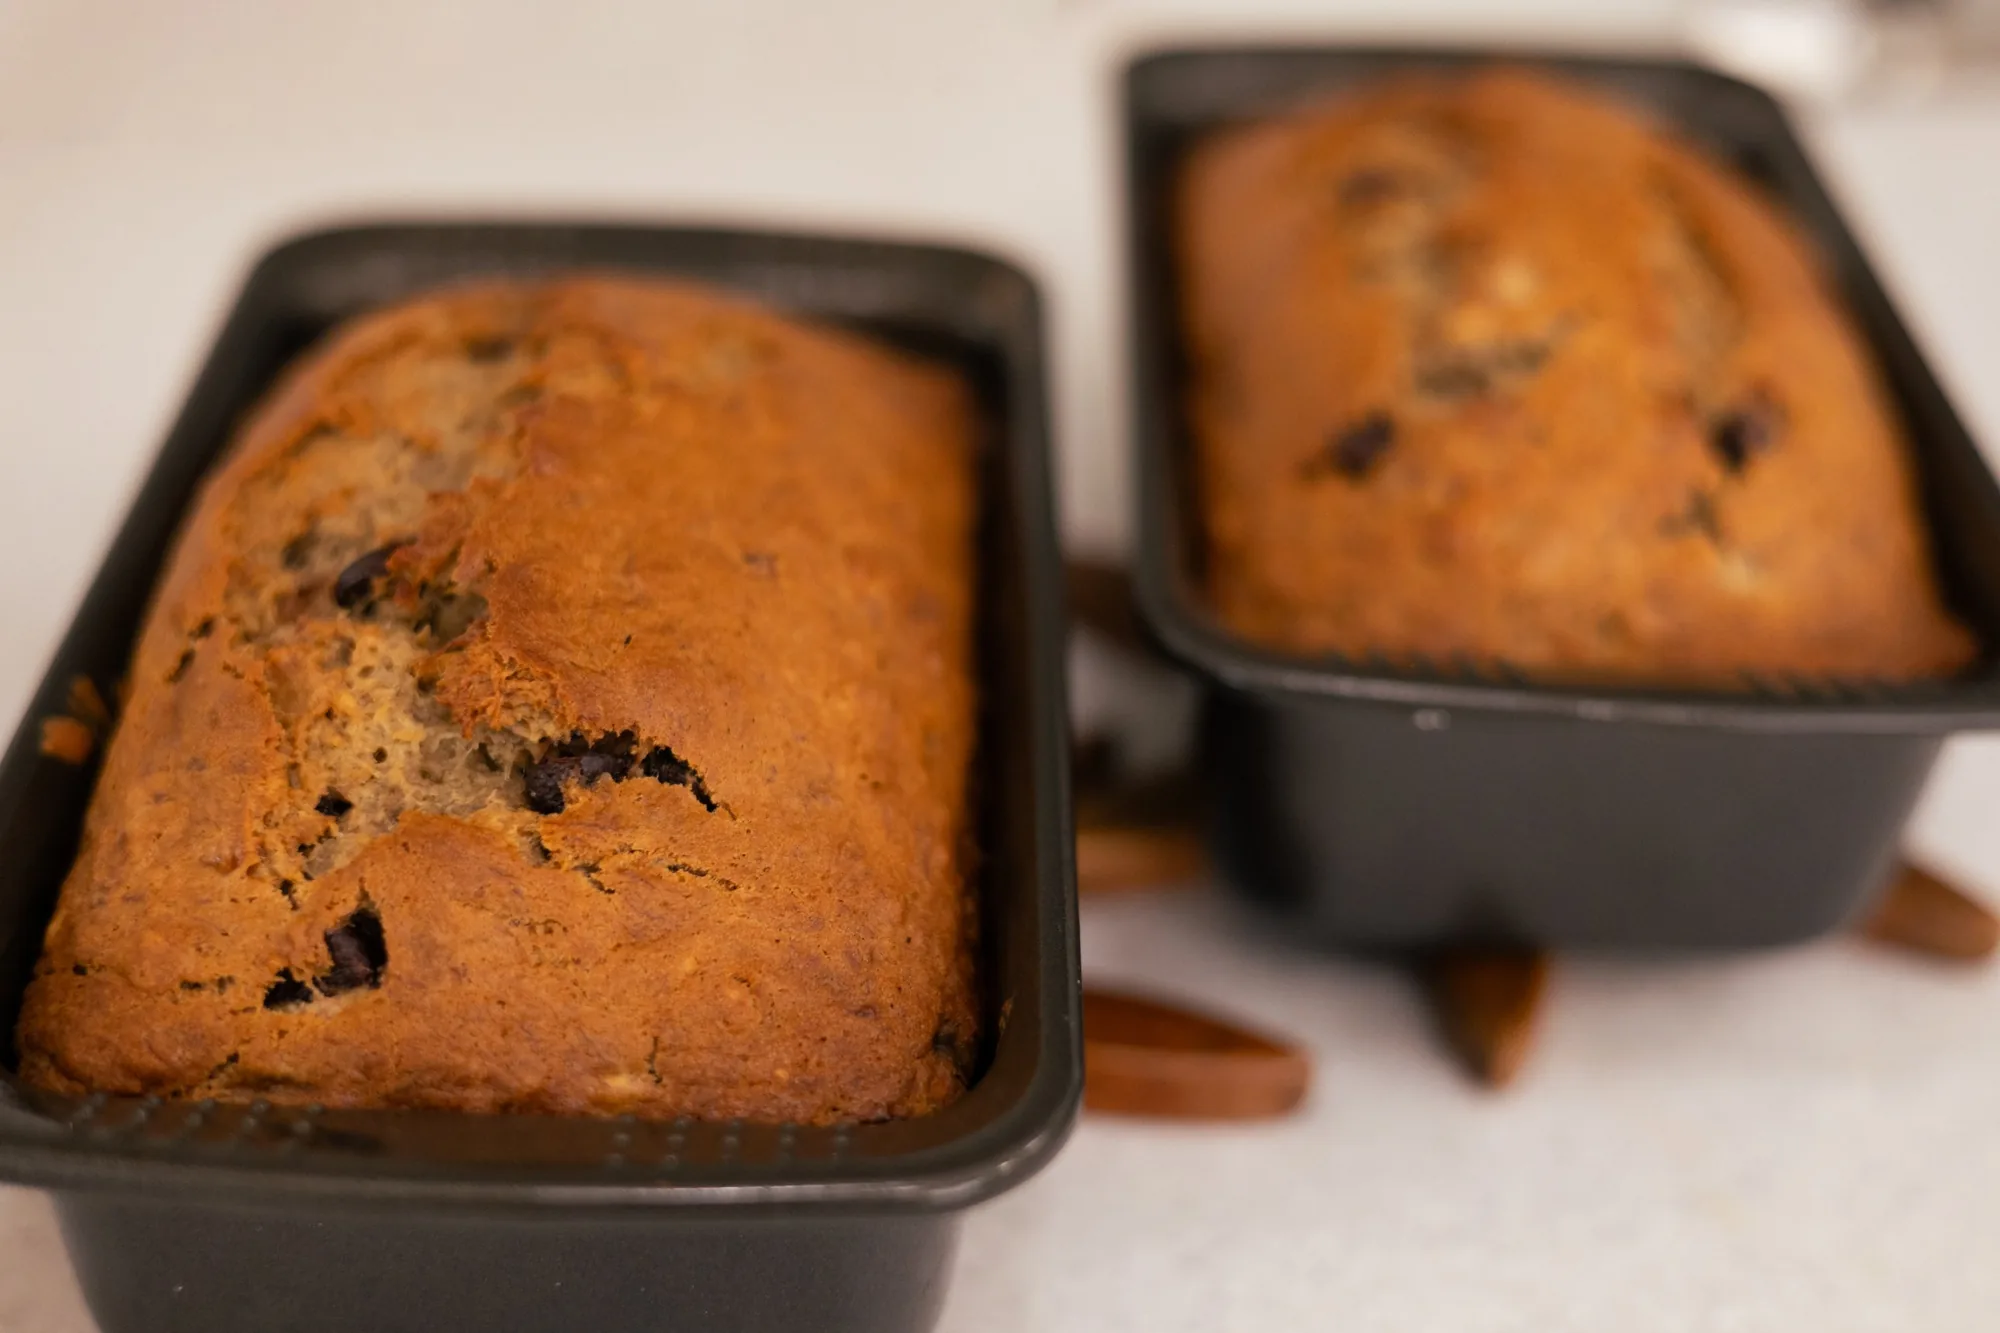
If you've been wanting to make homemade sourdough bread but feel intimidated by the process, this is the recipe for you! This is the best and easiest sourdough bread recipe for beginners who want to make a delicious loaf at home without overcomplicating things.
One of my favorite things about sourdough bread is how simple the ingredients are. You only need four basic ingredients to make a beautiful loaf with a golden crust and a soft, chewy center. While sourdough does require some patience, the hands-on steps are surprisingly simple!
Whether you're brand-new to sourdough or looking for an easy recipe to add to your homemaking routine, I'm going to walk you through how to make homemade sourdough bread step by step.
I also have a video tutorial showing you how I make this recipe, so you can follow along visually as you bake!
Why You'll Love This Easy Sourdough Bread Recipe
- Simple ingredients: You only need flour, water, active sourdough starter, and salt.
- Beginner-friendly: No complicated kneading techniques or fancy ingredients are needed.
- Easy to follow: A few rounds of stretch-and-folds help develop the dough.
- Perfect for homemade meals: Enjoy your sourdough with butter, homemade jam, soup, sandwiches, or your favorite breakfast.
- A rewarding homemaking skill: There is something so satisfying about making fresh bread for your family!
Once you get comfortable with the process, sourdough baking can become a fun part of your weekly kitchen routine.
Tools You'll Need
You don't need a lot of special equipment to make sourdough bread, but a few tools make the process easier.
I recommend using a kitchen scale to measure your ingredients in grams. Measuring by weight helps you get consistent results and makes it easier to repeat the recipe.
A Dutch oven is also helpful because the covered pot traps steam around the bread during baking, helping the loaf develop a beautiful crust.
Ingredients for Easy Sourdough Bread
This recipe uses just four simple ingredients!
- 475 g all-purpose flour: Organic flour is a great option if you prefer using organic ingredients.
- 325 g water: Use water suitable for baking and maintaining your sourdough starter.
- 100 g active sourdough starter: Your starter should be active and bubbly before you begin.
- 10 g salt: Salt adds flavor and helps strengthen the dough.
That's it! You don't need commercial yeast, sugar, oil, or any other additional ingredients for this recipe.
How to Make Sourdough Bread
Step 1: Mix the Dough
Start by adding the flour, water, active sourdough starter, and salt to a mixing bowl.
Mix everything together until the ingredients are incorporated and a rough dough forms. Make sure there are no large pockets of dry flour remaining.
The dough may feel a little sticky, which is normal for sourdough. Resist the urge to add a lot of extra flour, as this can make your finished bread dense and dry.
Cover the bowl and let the dough rest before beginning your stretch-and-folds.
Step 2: Stretch and Fold the Dough
Stretch-and-folds are an easy way to develop the gluten in sourdough without traditional kneading.
With slightly damp hands, grab one side of the dough, gently stretch it upward, and fold it back over itself. Rotate the bowl and repeat with the remaining sides until you've worked around the dough.
Allow the dough to rest for 30 minutes between each round of stretch-and-folds.
Repeat this process three times, giving the dough time to relax between rounds.
As you work through the folds, you'll notice that the dough becomes smoother, stronger, and more elastic.
Beginner tip: If your dough feels too dry because you accidentally added too much flour, carefully work in about 10 g of additional water during a stretch-and-fold session. Add it gradually rather than pouring it all in at once.
Step 3: Let the Dough Rise
After completing your stretch-and-folds, cover the dough and let it rise for at least four hours.
This stage is called bulk fermentation. During this time, the wild yeast in your sourdough starter helps the dough rise and develop flavor.
The exact amount of time needed will depend on the temperature of your kitchen and how active your starter is. Your dough may need longer than four hours, so pay attention to how it looks and feels instead of relying only on the clock.
A helpful way to check your dough is with the poke test. Gently press a floured finger into the dough. The dough should slowly spring back while retaining a slight indent.
If you use less starter than the recipe calls for, your dough may take longer to rise. Keep an eye on its progress and allow additional fermentation time as needed.
Step 4: Shape the Dough
Once the dough has risen sufficiently, gently transfer it to a lightly floured work surface.
Shape the dough into a round loaf by folding the edges inward and creating tension on the outer surface. Turn the dough seam-side down and gently pull it toward you to help create a smooth, rounded shape.
Try to handle the dough gently so you don't press out all the air that has developed during fermentation.
Shaping helps your loaf hold its form as it bakes and contributes to a better final texture.
Step 5: Preheat the Oven
Preheat your oven to 500°F with your cast iron Dutch oven inside, if your Dutch oven manufacturer allows that temperature.
Allow the pot to heat thoroughly before baking. A hot Dutch oven helps the dough begin expanding as soon as it enters the oven.
Always use oven mitts when handling the hot pot and lid, and follow the manufacturer's temperature recommendations for your cookware.
Step 6: Score the Dough
Carefully transfer your shaped dough onto parchment paper, if suitable for your baking temperature and parchment brand.
Use a sharp bread lame or razor blade to score the top of the loaf.
Scoring creates a controlled place for the dough to expand as it bakes. You can make one simple slash for a classic homemade look.
Carefully lower the dough into the preheated Dutch oven and put the lid on.
Step 7: Bake the Sourdough Bread
Bake the loaf at 500°F for approximately 20 minutes, removing the lid halfway through baking according to this recipe's method.
Removing the lid allows moisture to escape and helps the crust brown.
Keep an eye on the loaf as it finishes baking. Oven temperatures and Dutch ovens vary, so check that the bread is fully baked before removing it.
Once the crust is beautifully golden and the loaf is done, carefully remove it from the Dutch oven and transfer it to a cooling rack.
Step 8: Let the Bread Cool
This is probably the hardest part of making fresh sourdough bread: waiting to cut into it!
Allow the loaf to cool completely on a wire rack before slicing. The inside continues to set as the bread cools, helping you achieve a better crumb rather than a gummy center.
Once cooled, slice your bread and enjoy it with butter, jam, eggs, soup, or whatever sounds good to you.
There's nothing quite like the smell of fresh homemade bread filling your kitchen!
Troubleshooting Your Sourdough Bread
Sourdough takes practice, and your first loaf may not turn out exactly how you imagined. Here are a couple of common issues to watch for.
What if I accidentally add too much flour?
Adding too much flour can make your dough overly stiff and your bread dense or dry.
If you notice that your dough is too dry during the stretch-and-fold stage, carefully add approximately 10 g of water. Work it into the dough gradually and give it time to absorb.
What if I don't add enough sourdough starter?
Using less starter can slow down fermentation, meaning your dough may need more time to rise.
Watch the dough rather than relying on the clock alone. Look for signs of fermentation and use the poke test as a helpful guide, while remembering that dough temperature and fermentation stage can affect how it responds.
Why is my sourdough bread dense?
Dense bread can result from several factors, including insufficient fermentation, an inactive starter, or dough that's too dry.
Make sure your starter is active before baking, avoid adding too much extra flour, and allow your dough enough time to ferment.
Don't worry if your first loaf isn't perfect! Every loaf is an opportunity to learn more about your starter and how your dough behaves in your kitchen.
Frequently Asked Questions
Is sourdough bread easy for beginners?
Yes! Sourdough has a learning curve, but this recipe keeps the ingredients and process simple. Once you understand mixing, stretch-and-folds, fermentation, shaping, and baking, you'll feel much more confident.
Do I need a kitchen scale to make sourdough?
A kitchen scale is highly recommended. Measuring ingredients in grams helps you maintain consistent proportions and achieve more reliable results.
Can I use all-purpose flour for sourdough bread?
Yes! This recipe uses all-purpose flour. Bread flour can also be used, although it may absorb water differently and produce a slightly different texture.
How should I store homemade sourdough bread?
Once completely cooled, store your loaf in a bread bag or bread box at room temperature. For longer storage, slice the bread and freeze it in a freezer-safe bag.
How do I know when my sourdough dough is ready?
Look for signs that the dough has risen and become airy. The poke test can provide additional guidance: the dough should spring back slowly with a slight indent remaining. Fermentation time varies with temperature and starter activity, so use the dough's condition as your guide.
Final Thoughts
Making sourdough bread at home doesn't have to be complicated! With four simple ingredients, a few rounds of stretch-and-folds, and a little patience, you can make a delicious homemade loaf right in your own kitchen.
If you've been wanting to learn how to bake sourdough, I hope this easy recipe encourages you to give it a try. Don't be discouraged if your first loaf isn't perfect. The more you practice, the more comfortable you'll become with the process.
Be sure to watch my sourdough bread video tutorial to see the recipe in action, and follow along for more baking, homemaking, and everyday lifestyle inspiration!
Happy baking!
One of my favorite things about sourdough bread is how simple the ingredients are.

The BEST and EASIEST Sourdough Bread Recipe for Beginners
The best and easiest sourdough bread recipe for beginners: four simple ingredients, a few stretch-and-folds, and a golden, chewy homemade loaf.
Ingredients
475 g all-purpose flour
325 g water
100 g active sourdough starter
10 g salt
Instructions
Stretch & fold dough 3x
Rise for 4+ hours
Shape dough
Preheat oven to 500°F
Score dough
Bake 20 minutes (take lid off halfway)
What I use
Roshel's notes
Pin your photo and tag @merrymaddenblogger. I would love to see it!
Pin this for later
Save this recipe to your Pinterest board so it's there when you're ready to bake.
Save to Pinterest
Roshel Madden
Wife, mom, and the baker behind Merry Madden, sharing decorated sugar cookies, royal icing tips and cozy family bakes.