

If you’ve ever invested in OXO Pop containers, you know they are so worth it. They’re light weight, practical, and make your pantry feel instantly more organized. I’ve had mine for years and still love them just as much now as the day I bought them… well, almost.
Over time, I started noticing that some of my once bright white OXO containers were turning yellow. Not all of them, but enough that it stood out every time I opened the pantry. And if you’re anything like me (a struggling perfectionist), you know how distracting that can be when you’re trying to keep a clean, aesthetic space.
At first, I thought it was just normal wear and tear. These containers have held flour, sugar, baking supplies, and snacks. They’ve been washed countless times and used almost daily. But replacing them all felt wasteful (and expensive), especially since they still worked perfectly fine.
So instead of tossing them, I decided to experiment — and spoiler alert: I got them bright white again.
Why OXO Pop Containers Turn Yellow
Before diving into what worked, let’s talk about why this happens. Plastic containers, especially white ones, can yellow over time due to a few common reasons:
- Exposure to sunlight or UV light
- Heat (hello dishwasher)
- Oils and food residue settling into the plastic
- Just plain aging of the material

What Finally Worked: Deoxidizing the Plastic
After some trial and error, I landed on a method that honestly surprised me with how well it worked. It took a little effort, but the results were so worth it.
Here’s what I used:
- Hydrogen peroxide
- Baking soda
- A Magic Eraser
- A black light flash light
Step 1: Start with Hydrogen Peroxide
I started by adding a little bit of hydrogen peroxide onto a magic eraser and rubbing that onto the yellowed lid.
Step 2: Add Baking Soda Paste
Next I added about a half teaspoon of baking soda with a little bit of hydrogen peroxide onto the lid and gently rubbed it in with the magic eraser sponge.
Step 3: Black Light Magic
This is where the magic really happens. I placed the container lid under a black light and let it sit for about two hours. The UV light activates the peroxide and helps break down the oxidation causing the yellowing.
If you don’t have a black light, direct sunlight can also work, but I found the black light to be more direct and faster.

Step 4: Final Wash
Once I was happy with how white they looked, I washed the lid thoroughly with dish soap and warm water to remove any residue.
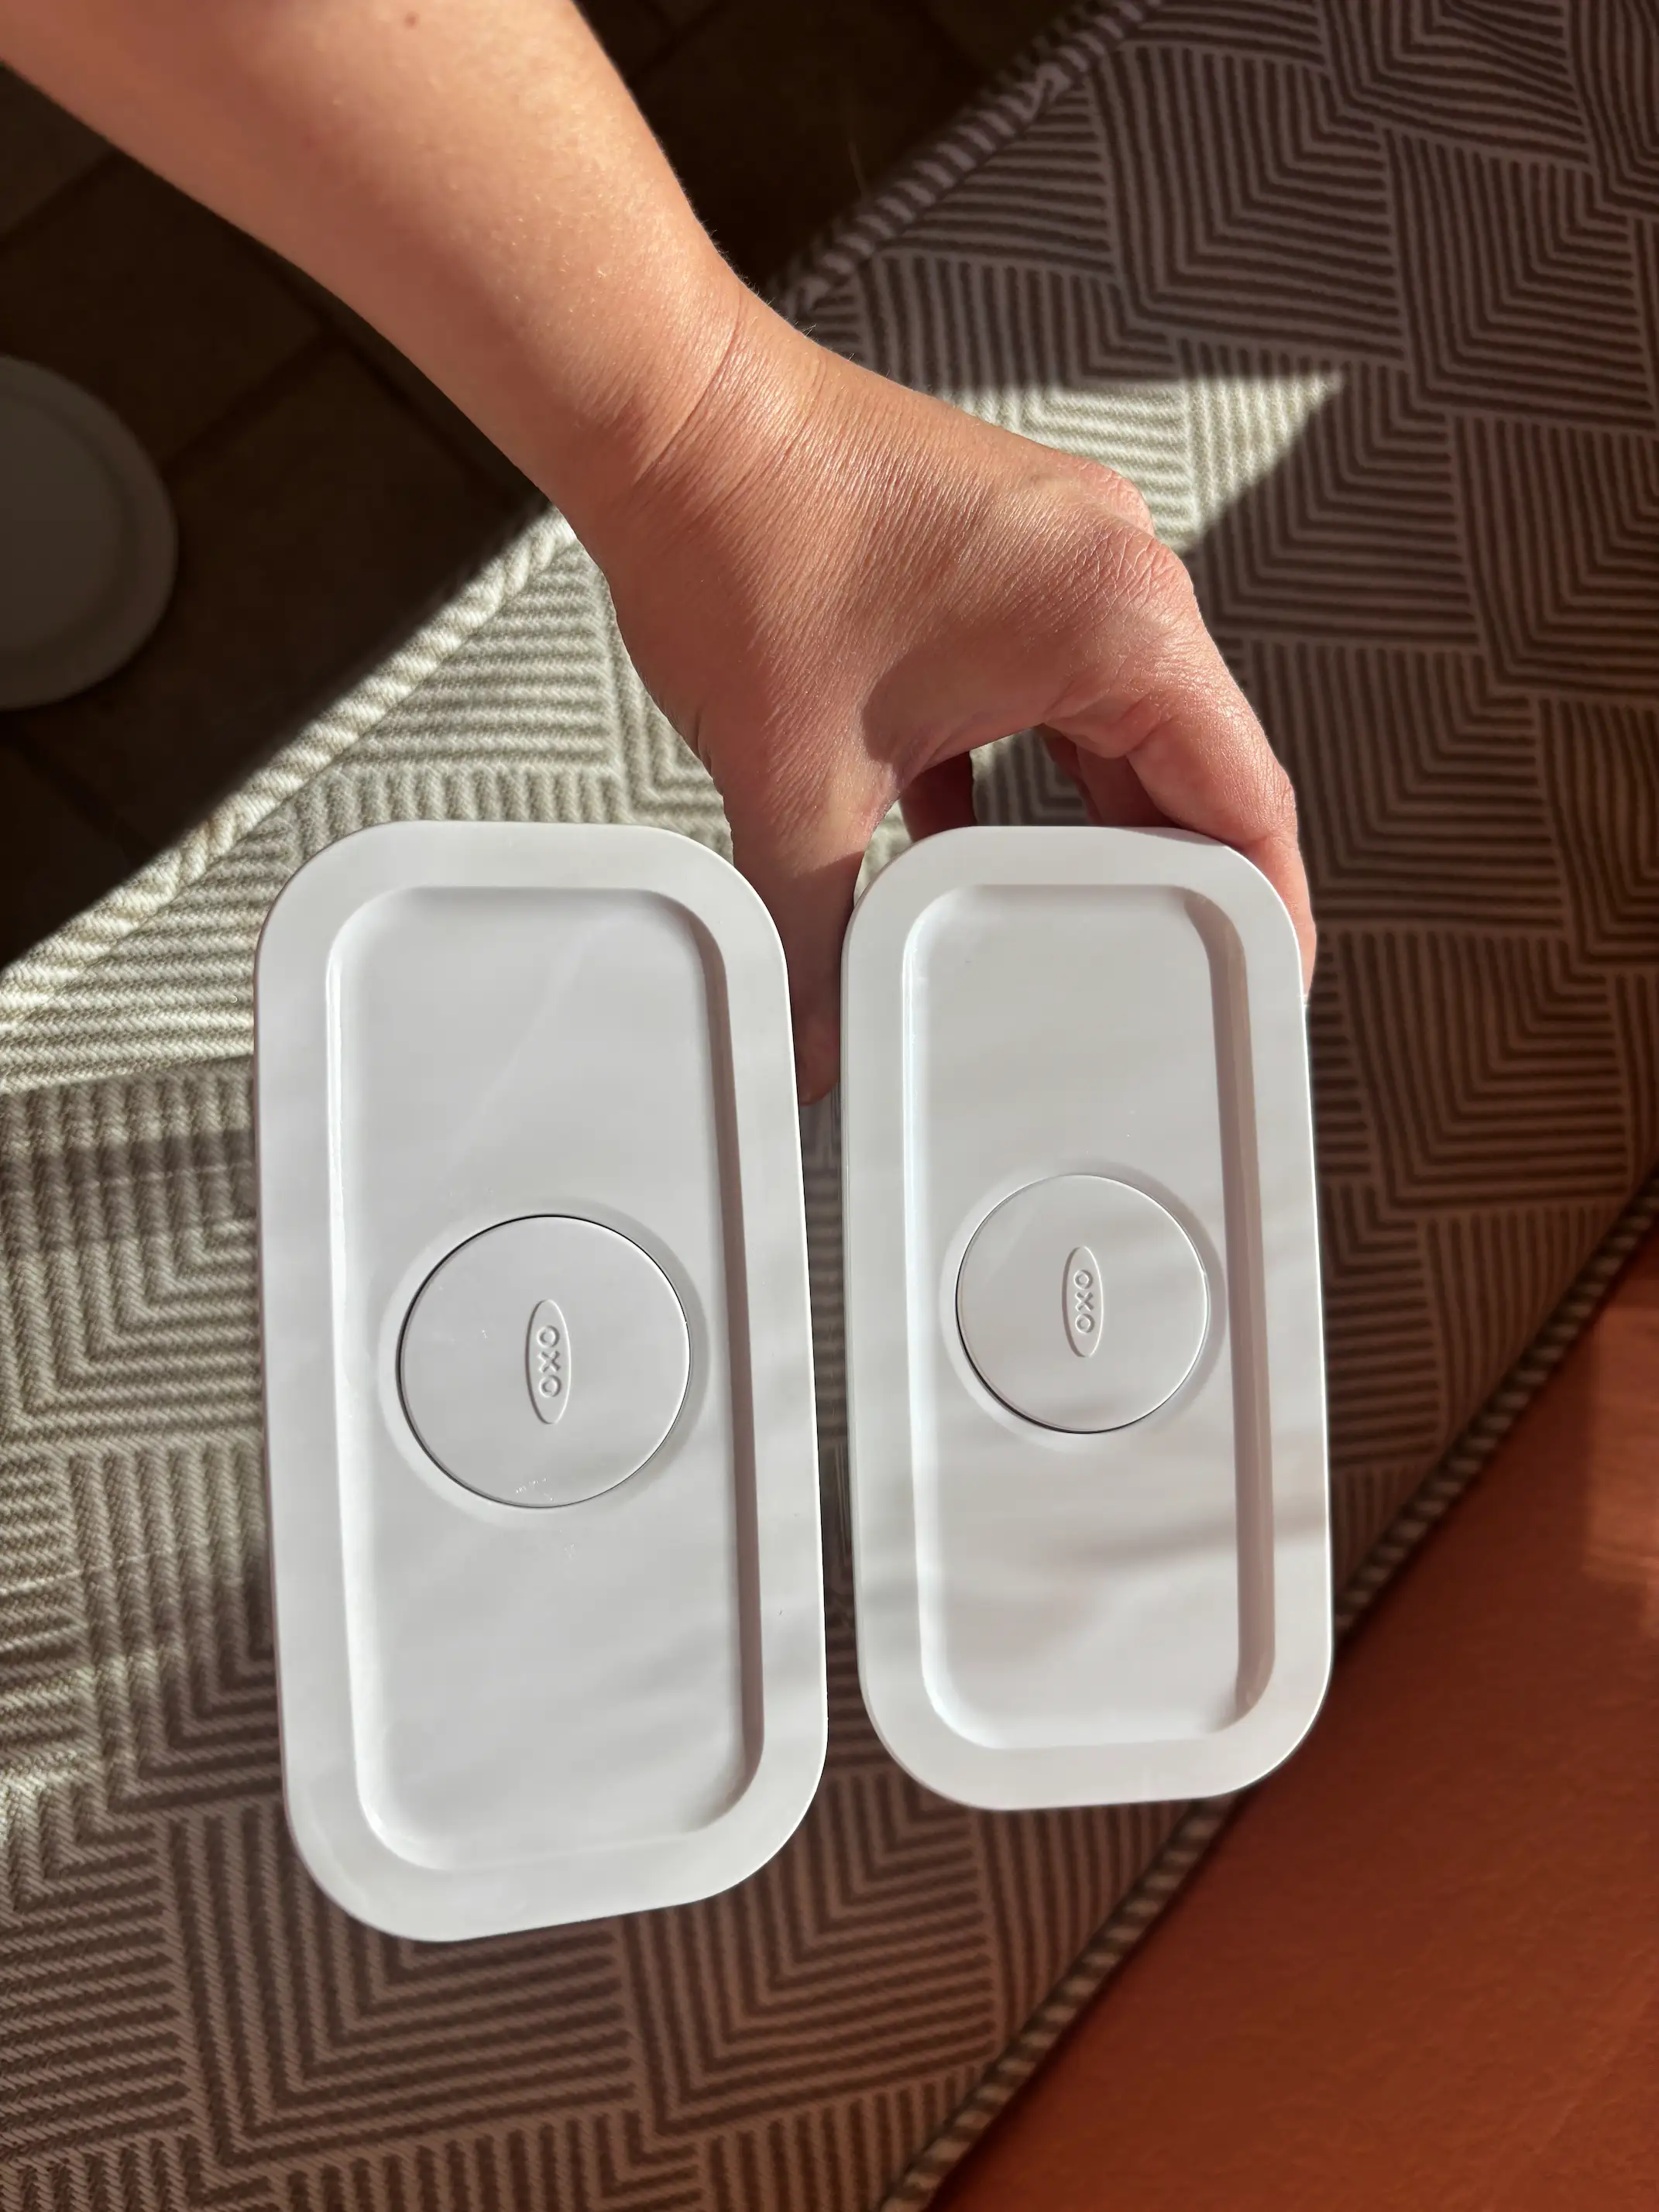
The Results (Totally Worth It)
I honestly wasn’t expecting such a dramatic difference. The containers went from dingy and yellowed to bright white again. When I held one up next to a white lid, I couldn’t even tell which container had been yellowed originally.
This whole experience made me appreciate the quality of OXO containers even more. The fact that they can be restored instead of replaced says a lot. They seal perfectly, stack beautifully, and now thanks to a little deoxidizing, they look just as good as they function.
If you’re on the fence about keeping your yellowed containers, don’t give up on them yet. With a little effort, you can give them new life and save money while you’re at it.
And let’s be honest, opening a pantry full of bright white containers again is so satisfying ✨
A Few Tips If You Try This
- If at all possible, keep your OXO containers away from direct sunlight.
- Don’t use this method too frequently; think of it as a refresh, not a routine clean.
- Always rinse thoroughly after using peroxide.
- Gloves are your friend — peroxide can dry out your skin fast.