

Don’t you love it when a favorite fashion trend makes a comeback? Scrunchies are back, and here to stay! I was born in the 90s and scrunchies were always on my wrist or holding back my unruly hair.
I have fond memories of making scrunchies in high school sewing class. It was a simple DIY project that required just a few basic materials: scrap fabric, thread, elastic, a safety pin, and, of course, the trusty wooden pencil (a nostalgic reminder of simpler times). While the scrunchies we made in class were basic, the ones I'm about to show you require a few more steps but are still remarkably easy to create.
These satin scrunchies not only add a touch of elegance to your hairstyle but also offer practical benefits. Satin is known for its gentle texture, which is especially beneficial for hair as it helps reduce breakage. Whether you're wearing them to bed to protect your hair while you sleep or styling your locks during the day, satin scrunchies are a versatile accessory that's particularly beloved by those with curly hair. If you're part of the curly hair community, you understand the struggle of managing tangles and frizz, making satin scrunchies a lifesaver. Check out my blog post, Curly Girl Routine: How To Refresh Limp Curls.
My journey into making satin scrunchies began when a family member requested them as a Christmas gift. I purchased some online, however, I was dissatisfied with the quality of the scrunchies, so I decided to take matters into my own hands and create something superior and lush. While satin fabric can be thin, these scrunchies are double-layered, resulting in a luxurious thickness that ensures durability and longevity.
These scrunchies make for a great gift for any occasion, whether a birthday, Christmas, or a just ‘cause gift!
Now, let's dive into the crafting process!
Supplies Needed:
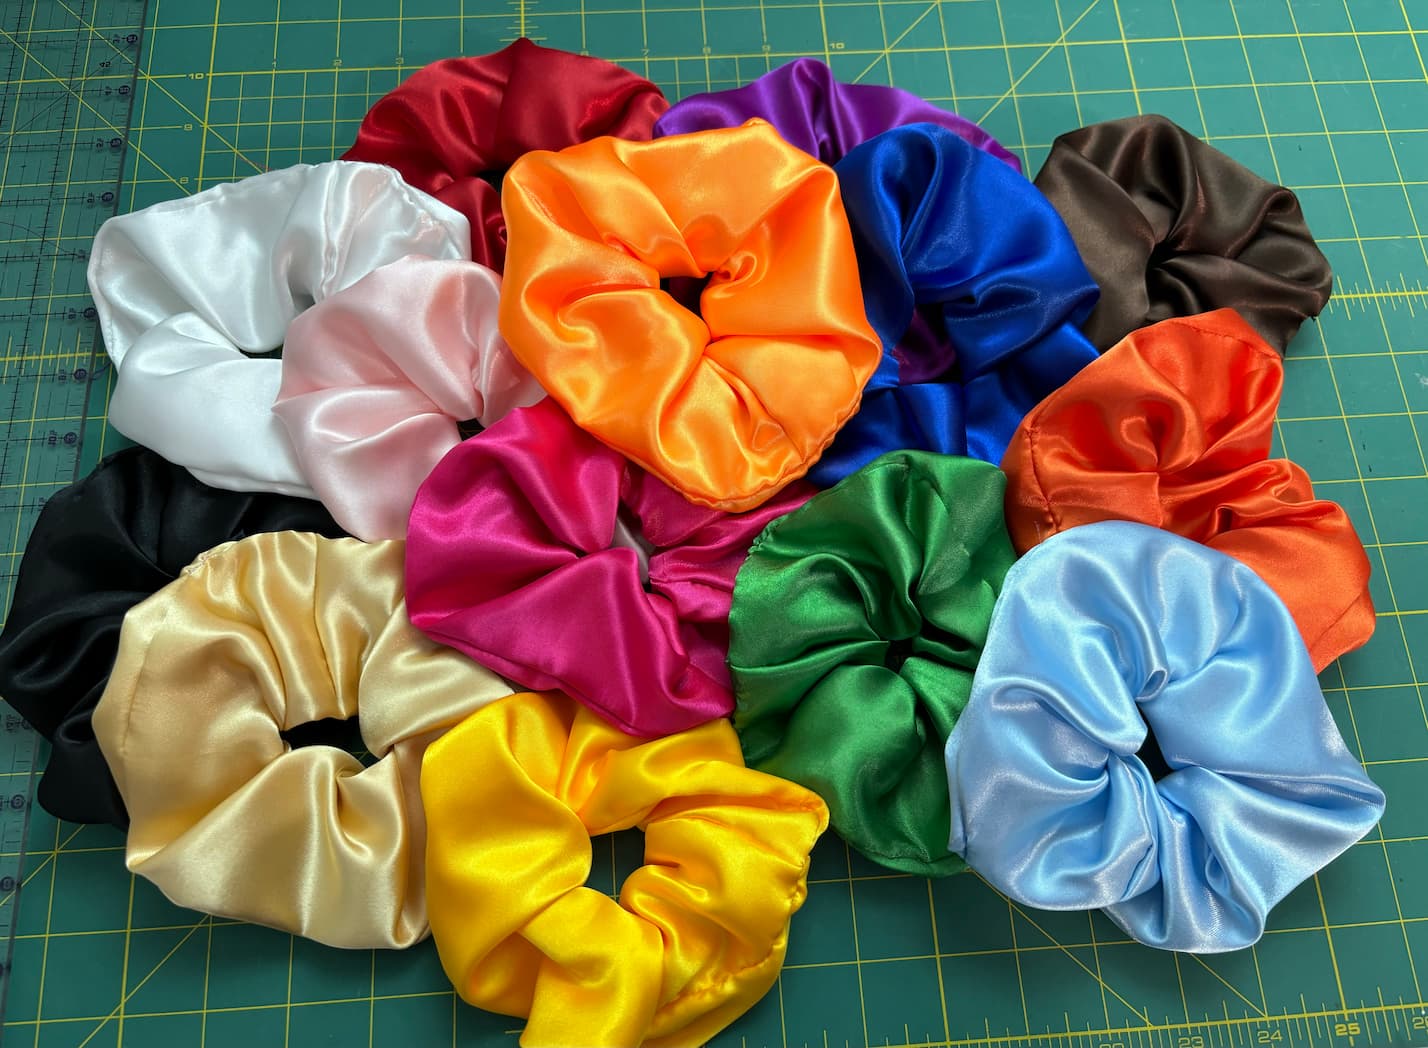
- A fat quarter of satin fabric. For this tutorial, I bought a 14-pack of fat quarters to make 14 different colored scrunchies.
- ¼ inch wide elastic
- Rotary cutter
- Self-healing cutting mat. I have used my Olfa 24" x 36" cutting mat for well over 10 years now. It is perfect for all my sewing projects.
- Cutting ruler
- Scissors
- Seam ripper (just in case)
- Two safety pins
- Thread that matches the satin fabric
- Pins. I use a Grabbit pin cushion to make picking up pins super easy. It is a must-have!
- Sewing machine. I use a JUKI HZL-70HW. I love JUKI machines for their reliability and versatility.
- Needle
Instructions:
1. Preparation:
Begin by pre-washing the satin fabric in cold water on a gentle cycle to prevent shrinkage. Once washed, iron the fabric to remove any creases. Satin fabric is prone to fraying, so it's essential to take steps to prevent excess fraying during the sewing process.
2. Cutting the Fabric:
Fold the fabric in half horizontally (like a hot dog) and trim it to a length of 18 inches. Then, flip the fabric vertically and trim it to a width of 6 inches. Fold the fabric back horizontally to its original position.
3. Stitching the Fabric:
With the wrong sides together (the dull sides touching), pin the fabric and stitch a ¼ inch seam down the long side, connecting them together. Then, sew ⅛ inch (or as close to the edge as possible) along the two short sides. This step helps keep the edges together, especially since satin is slippery.
4. Forming the Scrunchie:
Fold the fabric in half again so that all sides are glossy, resulting in a width of approximately 3 inches. Pin the sides together and sew an ¼ inch seam, leaving approximately 2 inches unsewn at the beginning and end.
5. Turning Inside Out:
Carefully turn the fabric inside out to reveal the glossy side. Pin the beginning and end of the fabric together.
6. Inserting Elastic:
Cut the elastic to a length of 7.5 inches. Attach a safety pin to one end and pin the other end to the scrunchie. This will serve as a guide to thread the elastic through the scrunchie tunnel.
7. Closing the Gap:
Blind stitch the gap closed or use a sewing machine to close it securely.
By following these steps, you'll create beautiful satin scrunchies that are not only stylish but also gentle on your hair. Whether you're making them for yourself or as a thoughtful gift for a loved one, these scrunchies are sure to become a wardrobe staple.
In conclusion, the resurgence of scrunchies in fashion has been a delightful throwback to simpler times, and making your own satin scrunchies adds a personalized touch to this beloved trend. So, gather your materials, fire up your sewing machine, and let your creativity shine as you embark on this DIY adventure!